Template:Random image: Difference between revisions
TrollSlaiyer (talk | contribs) No edit summary |
TrollSlaiyer (talk | contribs) No edit summary |
||
| Line 2: | Line 2: | ||
<div style="text-align:center"> | <div style="text-align:center"> | ||
<choose> | <choose> | ||
<!-----------Insert an image below here-----------> | |||
<option> | <option> | ||
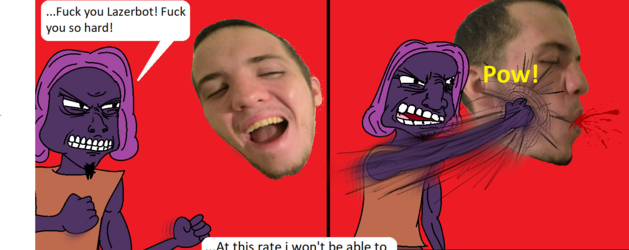
[[File:Fuck you trolls.png|center|x250px]] | [[File:Fuck you trolls.png|center|x250px]] | ||
| Line 102: | Line 103: | ||
</option> | </option> | ||
<!----------Insert an image above here----------> | |||
</choose> | </choose> | ||
</div> | </div> | ||
| Line 116: | Line 118: | ||
caption here | caption here | ||
</option> | </option> | ||
Links for the caption can be created by surrounding a page name with brackets. So, [[Shadow]] will create a link to Shadow's page on this wiki. Adding "|" can be used to customize the text, meaning [[Shadow|The awesome]] will create a link to Shadow's page but display the clickable text as "The awesome". | |||
</pre> | </pre> | ||
Note that ".png" and ".PNG" are different and may cause your image to not show up. | Note that ".png" and ".PNG" are different and may cause your image to not show up. You should also add the image to the gallery down below just to help other people know what images are already included. | ||
==Image Size== | ==Image Size== | ||
Be wary of images that are "tall" as they might make things look strange if chosen to be displayed. You can fix this easily by adding "x250px" to force an image to be of a certain height. (In general, x250px-x300px is a nice sweetspot. | Be wary of images that are "tall" as they might make things look strange if chosen to be displayed. You can fix this easily by adding "x250px" to force an image to be of a certain height. (In general, x250px-x300px is a nice sweetspot). In other words just add "x250px" and things should be fine. | ||
==Gallery of images already included== | ==Gallery of images already included== | ||
Revision as of 15:24, 6 May 2020
Notes
This template shows a random image based on a selection.
Adding an image is simple. First, you may want to check the list of files already uploaded if you want to add an image to help prevent dupes. If it hasn't been uploaded yet then feel free to upload it. Once you've got the image, edit this page and simply add a new set of option tags and the image, plus a short caption describing it. In other words, it should appear as:
<option>
[[File:filename.png|center|x250px]]
caption here
</option>

Links for the caption can be created by surrounding a page name with brackets. So, [[Shadow]] will create a link to Shadow's page on this wiki. Adding "|" can be used to customize the text, meaning [[Shadow|The awesome]] will create a link to Shadow's page but display the clickable text as "The awesome".
Note that ".png" and ".PNG" are different and may cause your image to not show up. You should also add the image to the gallery down below just to help other people know what images are already included.
Image Size
Be wary of images that are "tall" as they might make things look strange if chosen to be displayed. You can fix this easily by adding "x250px" to force an image to be of a certain height. (In general, x250px-x300px is a nice sweetspot). In other words just add "x250px" and things should be fine.
Gallery of images already included
